

Sharing Web Documents on University Websites
This is a quick reference guide for site editors using a SharePoint for Web Documents to host, edit and share web documents on a UAlbany website.
If you don’t find what you’re looking for here or need some help, please submit a Web Services ticket. Our team is here to support you!
What is a web document?
What is a web document?
A web document is any file — such as a PDF, Word document, PowerPoint presentation or Excel spreadsheet — shared on a University website.
UAlbany’s content management system (CMS), Drupal, does not host web documents. Instead, each website has a corresponding SharePoint for Web Documents.
Site editors use their website’s SharePoint for Web Documents to upload and edit web documents. SharePoint also allows editors to create shareable URLs, so they can link to specific documents on their website.
For example, to share the Uptown Campus map (a PDF file) on the University website, Web Services uploaded the PDF to the Campus Maps & Directions website’s SharePoint for Web Documents and added the file’s shareable URL to the Campus Maps & Directions webpage.
What is a SharePoint for Web Documents?
What is a SharePoint for Web Documents?
A SharePoint for Web Documents is not the same as your personal OneDrive for Business or any SharePoint, Teams or OneDrive groups you’ve created to share files among colleagues. Instead, SharePoints for Web Documents are established exclusively for website use.
Please only upload files to a SharePoint for Web Documents if they will be shared on the website you edit. If you need to host and share files for reasons unrelated to a University website, please contact ITS for assistance.
A SharePoint for Web Documents will be recognizable by its name, which will be web_[site-name]. For example, the Campus Maps & Directions website’s SharePoint for Web Documents is named web_campus-maps.
Site editors who don’t have access to their website’s SharePoint for Website Documents, or whose site doesn’t yet have one, should request access to a SharePoint for Web Documents.
Note: Only trained site editors may access a SharePoint for Web Documents. Request training and access.
Web Document Management
Site editors and/or owners can also ask Web Services to add a web document to their website on their behalf. You’ll need to ensure the document is accessible before submitting the request. Request edits to an existing webpage.
Ensure Web Documents are Accessible
Ensure Web Documents are Accessible
All web documents must be accessible to all users, including those with disabilities.
Please use the following guidance to ensure a web document is accessible before it is uploaded to a SharePoint for Web Documents:
Access Your Website's SharePoint for Web Documents
Access Your Website's SharePoint for Web Documents
Only trained site editors may access SharePoints for Web Documents. Request training and access.
Site editors receive an email with a link to their website’s SharePoint for Web Documents when they gain site editor access.
Trained site editors who don’t have access to their website’s SharePoint for Website Documents, or whose site doesn’t yet have one, should request access to a SharePoint for Web Documents.
Upload a New Web Document
Upload a New Web Document
Note: If you are uploading a new version of a document that already exists in your SharePoint for Web Documents, please follow the instructions for updating a web document listed below instead.
To upload a new document to a SharePoint for Web Documents, follow these steps:
- Save the document file to your device.
- Navigate to your website’s SharePoint for Web Documents.
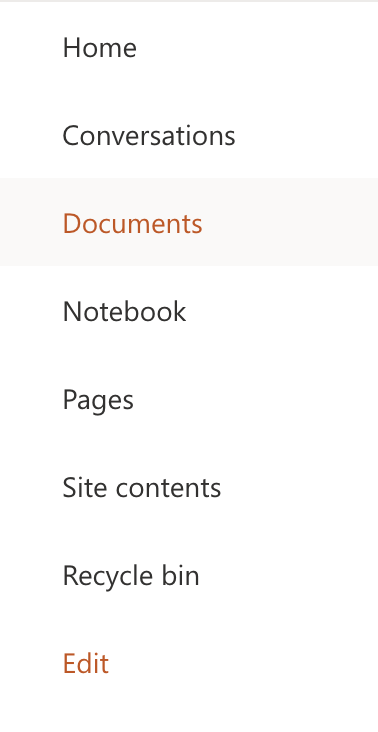
- Select Documents from the left-hand menu.
- Click Upload and select Files.
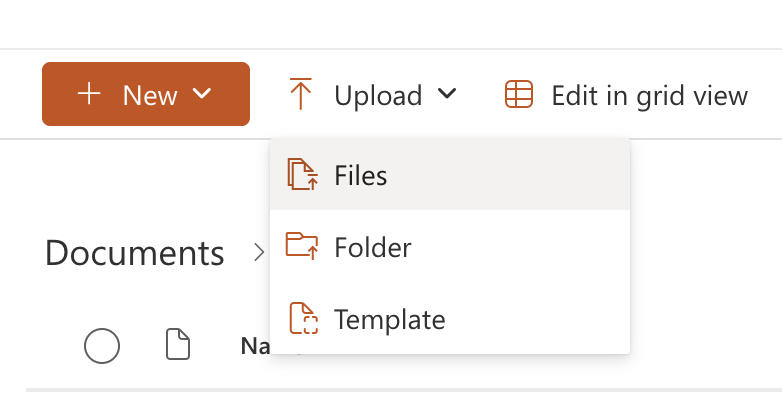
- Select the document file and select Open.
Create a Shareable URL
Create a Shareable URL
Web documents should have the same access limits as webpages: Users should be able to view the content without signing in, but they should not be able to edit the content. Shareable URLs allow us to accomplish both.
Each SharePoint for Web Documents is now configured so shareable links are automatically set to Anyone with the link can view — greatly reducing the number of steps it takes to create a shareable link.
To create a shareable URL, follow these steps:
- Navigate to your website’s SharePoint for Web Documents.
- Select Documents from the left-hand menu.
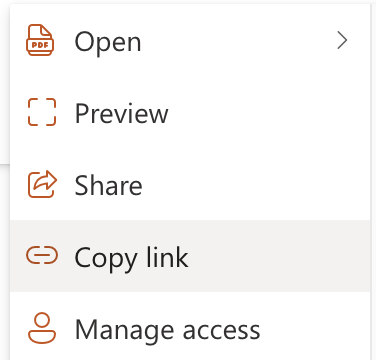
- Hover over the document you want to share and click on the three horizontally aligned dots that appear near the document’s name.

- Click Copy Link.
- A window will appear that says Link Copied and Anyone with the link can view. The URL copied to your clipboard is the shareable URL, which you can use on University websites.
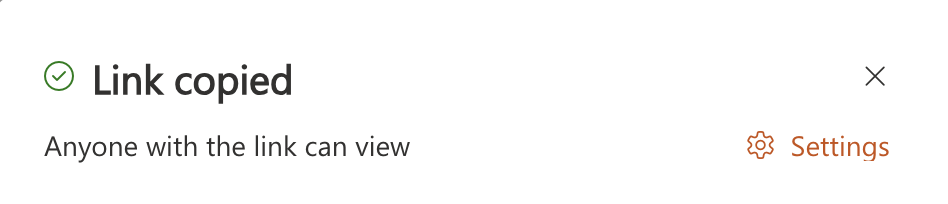
Be sure to use that exact URL anywhere you link to the document. (Never share a web document by copying and pasting the URL from the browser address bar as you would with website — that URL will not work for most users.)
Test a Shareable URL
Test a Shareable URL
Web Services recommends testing a shareable URL before adding it to a University website to ensure it will work for your users.
To test a shareable URL, follow these steps:
- Open Google Chrome.
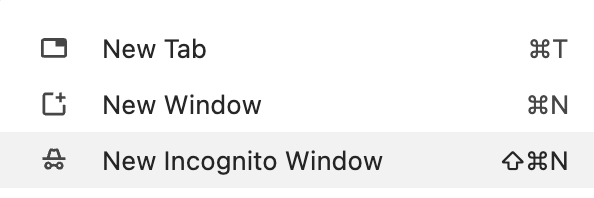
- Click the three vertically aligned dots that appear in the top right corner of the browser.
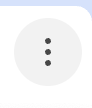
- Select New Incognito Window.
- Paste the shareable URL into the Incognito window’s browser address bar and hit Enter on your keyboard.
If the document opens without requiring a login, and you can download the file but not edit it in the Chrome Incognito window, then your shareable link is working as intended.
Use a Shareable URL on the Website
Use a Shareable URL on the Website
Once you have created and tested a shareable URL, you may add it to the University website. When you do, please take the following into account.
Ensure Accessibility
All web content, including web documents and webpages, must be accessible to all users, including those with disabilities.
Hyperlink text must be clear and meaningful, with enough contextual information that a user would understand the link’s destination. Learn about descriptive linking.
One Link, One Location
Web Services strongly recommends that site editors only provide a web document’s shareable URL in one place on their website.
Any other time the web document is referenced — such as on other webpages or in emails — you should instead link to the area of the site where the shareable URL appears. Need help with a jump link? Request edits to an existing webpage.
We recommend this strategy for several reasons, including:
- Users are most successful when all the information they need to complete a task is in one location. You should add a document’s sharable URL to the webpage that also includes all the contextual information a user would need to understand and use the document.
- For example, if the web document is a PDF form the user needs to print, complete and submit, the shareable URL for that web document should be added to the area of the webpage that provides detailed instructions (such as what the form is used to accomplish, who should complete it, what needs to be attached or included, and how/when it should be submitted).
- You won’t have multiple versions of a web document linked on different webpages. Users get confused and frustrated when they find different versions of the same document, losing trust in your site.
- If the web document’s link changes or you need to remove it from the website, you’ll only need to edit or delete the link in one location, instead of searching for links all over your site.
Update an Existing Web Document
Update an Existing Web Document
If you need to replace an existing web document in your site’s SharePoint for Web Documents without generating a new shareable URL or modifying the webpage where it’s displayed, please follow these instructions:
- Navigate to your website’s SharePoint for Web Documents.
- Select Documents from the left-hand menu.
- Find the web document you want to replace with a new version and note the exact file name.
- On your device, save the new version using the exact same file name.
- Click Upload and select Files.
- Select the document file and select Open.
- A window will pop up on the right side of the screen with a message that starts with, “A file with this name already exists...” Select Replace.
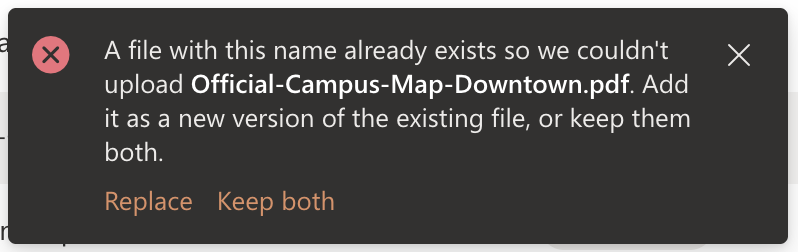
This will update the existing file with your new version, keeping any shareable URLs currently in use intact. You won’t need to update the link on your website.
To confirm the document was updated and the shareable URL still works properly, follow these instructions:
- Using a Google Chrome web browser, navigate to the webpage where the web document is linked.
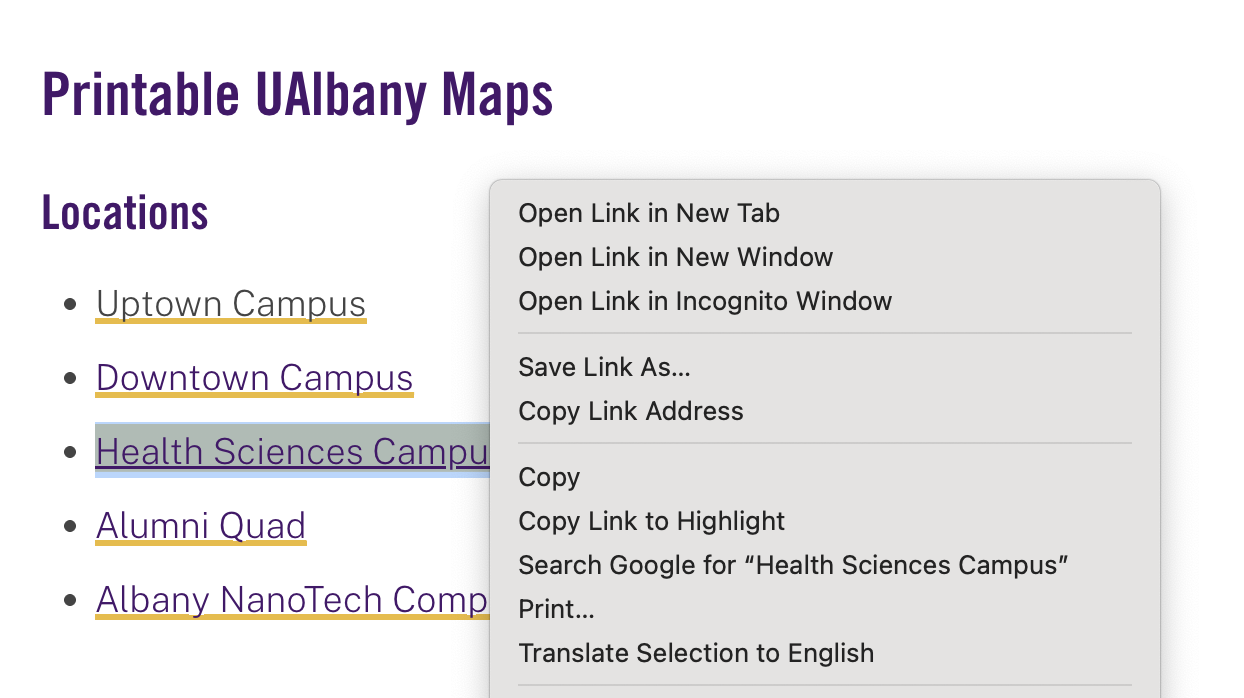
- Right click on the web document link and select Open Link in Incognito Window.
If the document opens without requiring a login, and you can download the file but not edit it in Chrome, then your shareable link is working as intended.
If you do not replace a web document and instead upload a new version as a separate file, please delete the old file from the SharePoint for Web Documents and use the instructions above to create, test and use a shareable URL for the new document.
Link Directly to a Web Document
Link Directly to a Web Document
If the link to the document is already on a UAlbany webpage, you can right click on the link, select Copy link address and paste the link into an email, document or webpage.
Note: Please see the Use a Shareable URL accordion above for instructions on when to link directly to a web document and when to link to the area of a webpage that a web document’s link appears.
Webpages versus PDFs
Use web documents sparingly to ensure users stay on your site and get the information they need. Web Services recommends webpages over PDFs for many reasons, including:
- Webpages are easier to read, especially for users accessing the site on a mobile device.
- Webpages load faster, so they rank higher in search engine results.
- Webpages are more accessible for users with disabilities. Learn about web accessibility requirements.
- Webpages allow a user to stay within the website’s navigation, keeping them engaged. Analytics show that users who click on a document most often don’t return to the site afterwards.
- Webpages are easier to update and maintain. PDFs can be difficult to update, especially if you lose access to the original file.
- Web documents often don't show up in search results. When they do, outdated versions may appear — giving users inaccurate information.
Drupal webpages can be easily saved as a PDF file at any time. Click File, select Print and, in the Destination field, select Save as a PDF.
Web Services can also place an Easy Print button on a page to highlight this feature and simplify the process for users. (For an example of an Easy Print button, visit Residential Life’s Housing License webpage.)
webpage-pdf