How to Add New Introductory & Body Text
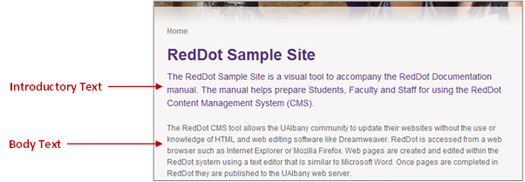
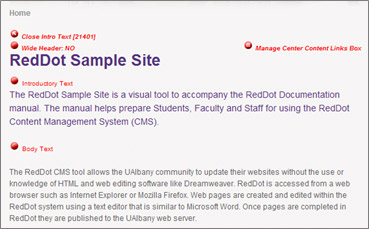
Introductory text is a short, purple paragraph in the top center of your web page that briefly describes the purpose of the site, department or particular page. Body text appears in gray below the Introductory Text. It can be used to provide additional detail and content to the page. See the example below.
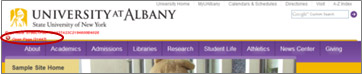
- Open the foundation page by clicking on the Open Page red dot below the Minerva symbol in the logo. This will reveal options for adding new and editing existing page pieces.
- Click the Manage Center Content red dot in the center of the page. This will open the Edit Link Element window.

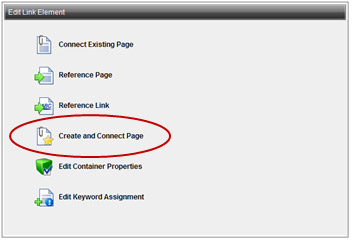
- Select Create and Connect Page from the menu. This will open the Content Class Groups window.
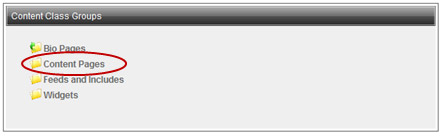
- Select Content Pages from the Content Class Groups menu. This will bring up a list of Content Classes below the Content Class Groups menu.
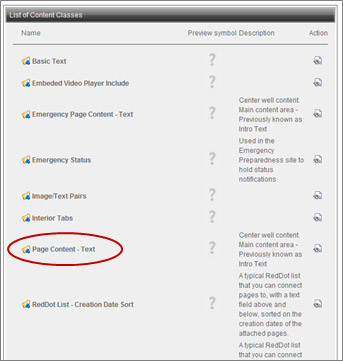
- Select Page Content - Text from the List of Content Classes box. This will open the Edit Headline window.
- In the Edit Headline box add the name of your site and current page in front of the content class name. Remove the 5-digit Page ID number at the end of the headline. Using consistently titled headlines will help you search for this page piece later if you want to add it to other pages.

- Click the OK button on the bottom right of the page. This will bring you back to the SmartEdit window.

- You should see a headline with the name of your site and several new red dots below it including Introductory Text, Body Text and Manage Center content Links Box.
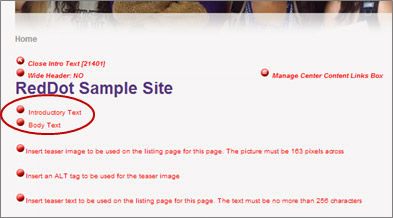
- Click on the Introductory Text red dot. This will open the Text Editor window.
- Type or paste* a short paragraph of introductory text in the Text Editor. Although the text appears in black and the Times New Roman font in the text editor it will be automatically formatted for the introductory area in the purple Verdana font.
*Note: If you are copying and pasting text from another source it is a best practice to paste using the "Paste as Text" icon in the Text Editor toolbar rather than using the CTRL+V keyboard shortcut. Using the "Paste as Text" option will prevent any formatting issues from carrying over to RedDot.

- Click the OK button on the bottom right of the page. This will bring you back to the SmartEdit window. You should see the text you just typed in the Text Editor below the page headline in purple.

- To include more detail and content below the Introductory Text click on the Body Text red dot. This will open the Text Editor window.
- Type or paste the content in the Text Editor. Although the text appears in black and the Times New Roman font in the text editor it will be automatically formatted for the body area in the gray Verdana font.

- Click the OK button on the bottom right of the page. This will bring you back to the SmartEdit window. You should see the Body Text you just typed in the Text Editor in gray, below the Introductory Text area.
- Your Introductory and Body text are now complete and ready to be published. (If you are publishing a new page see How to Publish a New Page).
